|
Continuing on from my post about installing kafka on Ec2, Kafka doesn't have (yet) any really good UI's for monitoring or maintaining your cluster, so I decided to have a hunt around for some open source goodies. I checked out a couple and landed on evaluating Yahoo's Kafka Manager, I chose this over kafka-web-console only because it was made by Yahoo and I'm making the assumption that it's well maintained (I could pay for this later on) and considering the last commit to web console was 9 months ago I think I made the right choice.
Update - As I started playing around with Kafka Manager it became apparent to me that this tool was only intended to be used as a UI for administration tasks, not for monitoring health (such as lag) of existing production topics. So soon enough I will also be looking at web-console. Previously we had built our own monitoring solution with bastardized angular and bootstrap, but it was painfully slow and took many developer hours to maintain it (the slowness could be down to the JMX reporters and thousands of topics). Step 1 - Download and extract the package If you followed my previous post, I set up a node for zookeeper and I'm going to install Kafka manager on here also. So, you will need to first SSH onto the Zookeeper Node and download the package from GitHub, unzip and then rename the dir. _ wget https://github.com/yahoo/kafka-manager/archive/master.zip
Step 2 - Install sbt
If you're like me and you don't have scala installed you will need to grab it (it doesn't seem to be as easy as "apt-get install sbt"). Below are the commands to run to install scala manually. wget -q apt.typesafe.com/repo-deb-build-0002.deb
Step 3 - Build your kafka-manager scripts
Cd into your new kafka-manager directory then run the build command. cd kafka-manager 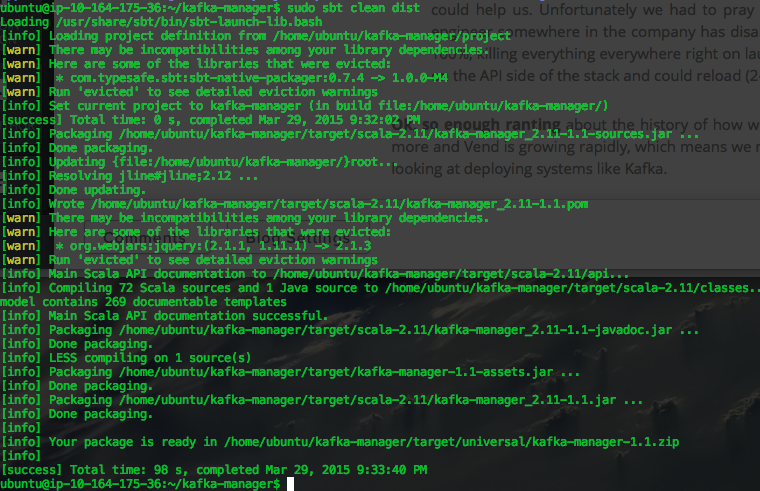
As you can see there are a few warnings around existing library conflicts, but all is good. It has generated a zip file, see the line "your package is ready in ...".
Step 4 - Copy that Zip file to a suitable location and unzip sudo mv target/universal/kafka-manager-1.1.zip ~/
Step 5 - Some weirdness and a hacky work around..
Yes you would expect a conf file to point the manager to a Zookeeper host(s) of which there is a such a file, but for me at least it didn't work, I tried the dns, the ip and since I'm running this app on the same host as the Zookeeper node I also tried localhost...none of them worked. In case you have better luck than me below are the entries that need to be made: The conf file is located at: "conf/application.conf" and alter the zkhosts entry Below is the command I ran to over-ride the conf and it worked just fine. bin/kafka-manager -Dkafka-manager.zkhosts="localhost:2181"
Once that's started, you should be able to open it up in a browser using the standard port 9000.
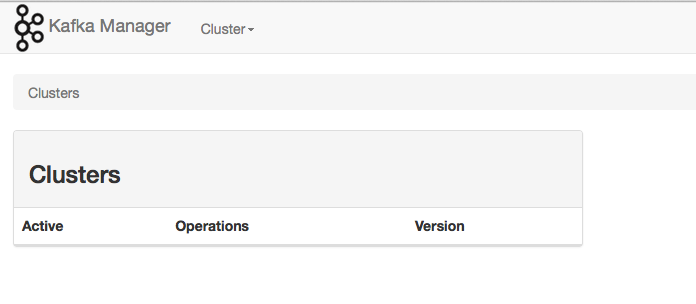
Step 6: Initial Setup and adding a cluster
Go to Cluster -> Setup a new cluster. 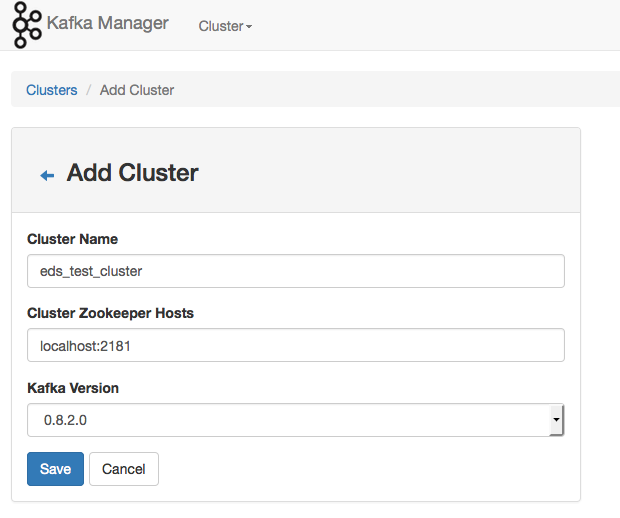
For this evaluation I'm running my Kafka Manager from my zookeeper host, I only have one host for my tests but if you have multiple hosts, just add them in as "host1:2181,host2:2181" etc. I'm using Kafka 0.8.2.x. Hit the save button and some magic should happen.
You can now see it's picked up my cluster and the existing 2 topics I created. If you have an existing topic in your cluster, you can click on it and explore from there. 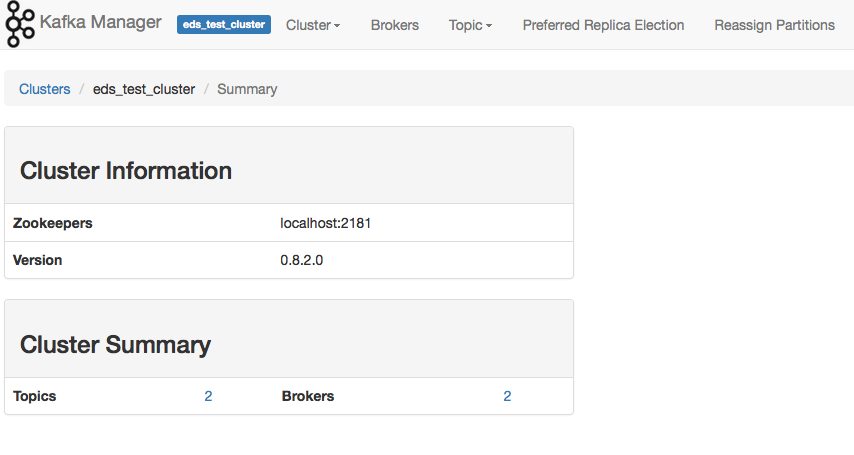
Creating A Topic through Kafka Manager.
In the top menu, click on topic and then create. You are presented with a bunch of parameters that you might be accustomed to from using the stand CLI. Once done there click on topic view. 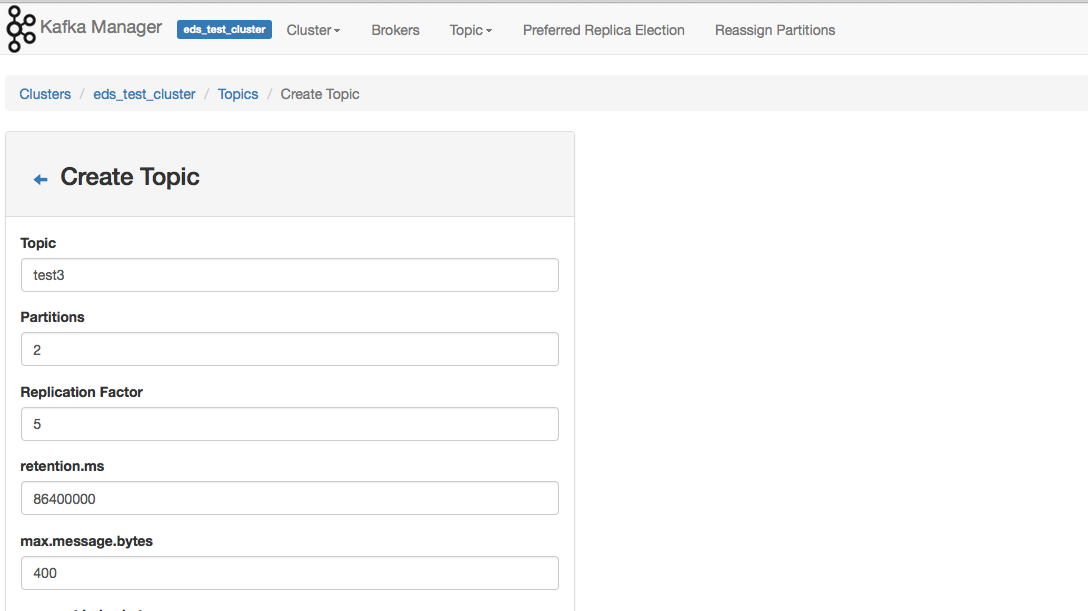
Topic View
We created our topic, now we can see it in all it's glory! If you're old hat to Kafka... you'll be pleased to know that the topic "delete" function.. works!. 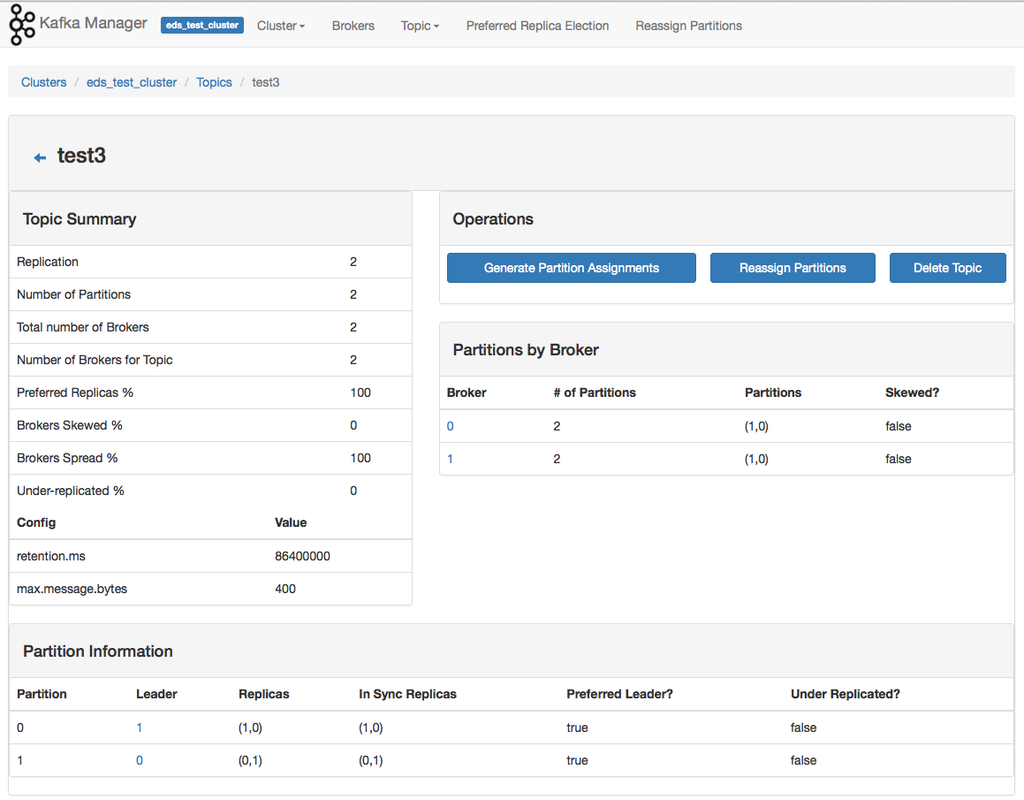
Brokers
Clicking on the broker menu item, provides you with a summary of your brokers. 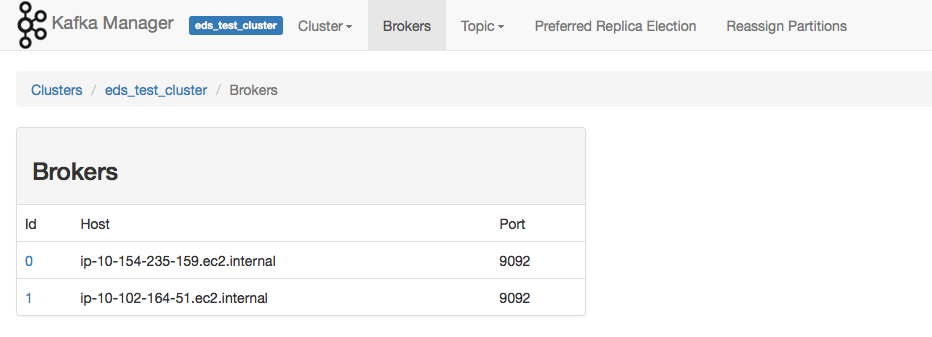
Clicking on one of the Brokers will provide you with a summary of the topics and partitions.

Re-assigning Partitions
This bit was a little buggy for me, I created a test4 topic and deleted it (out of this example) and it's still showing up as an option to reassign. When I selected test4 it then presented an error that it didn't exist. 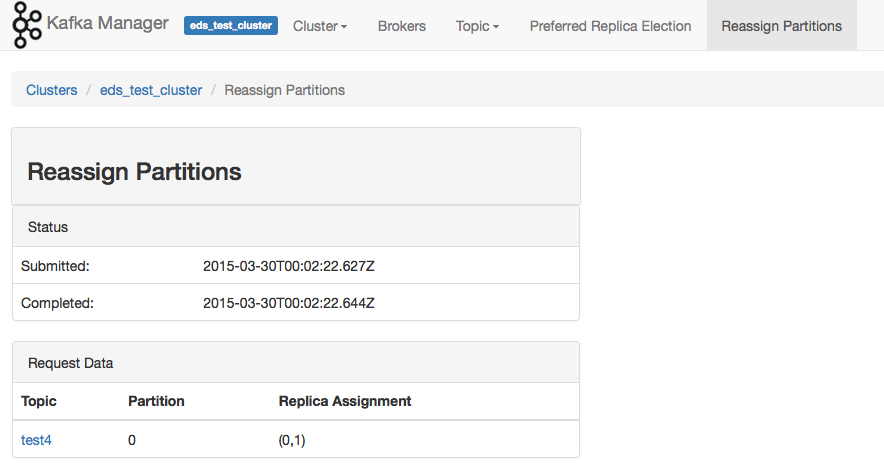
Conclusion
This is a very very simple application, for some reason I assumed because it was made by Yahoo it would provide more features. When you should use it: I think it would be useful on an enterprise level where system engineers don't have to always go through the CLI to complete their work, where engineers complete 5,000 tasks a day and this is just one of them. It enables you to digest the information pretty quickly. Cons I guess I expected more? Maybe I'm being greedy? I would love to see some metrics of cluster health around topic consumer lag etc. I'm assuming that since Yahoo is large scale they use standardized health metrics systems across their applications and they have something already feeding into that. Who knows? Kafka is pretty young in the terms of things and we could see this project grow. (Also it screams bootstrap).. confirmed src it's bootstrapped. Keep posted as I dive into web-console.
13 Comments

Step 2: SSH into your new Zookeeper node In case you're new to Amazon like me, it's best to create some keys, provide them to EC2 and when you're provisioning your new node select your keys!
Well, here we are again Kafka my old friend..
I'm new to EC2 but my experience so far has been good. I wanted to throw this tutorial together not only for others, but for myself as a "remember how you did this guide". Step 1: Pick some random instance types I'm going to go ahead and pick 1 smaller node for Zookeeper and 2 nodes for Kafka. I used Ubuntu Server 14.04 LTS, I deployed the following types of nodes:
Tip: Ensure you have a security group enabled and selected when you create your servers, once they are initiated you cannot switch groups (I found this out the hard way), also add in the firewall rules so that your servers can talk with one another. Look at me, I have a zookeeper node!
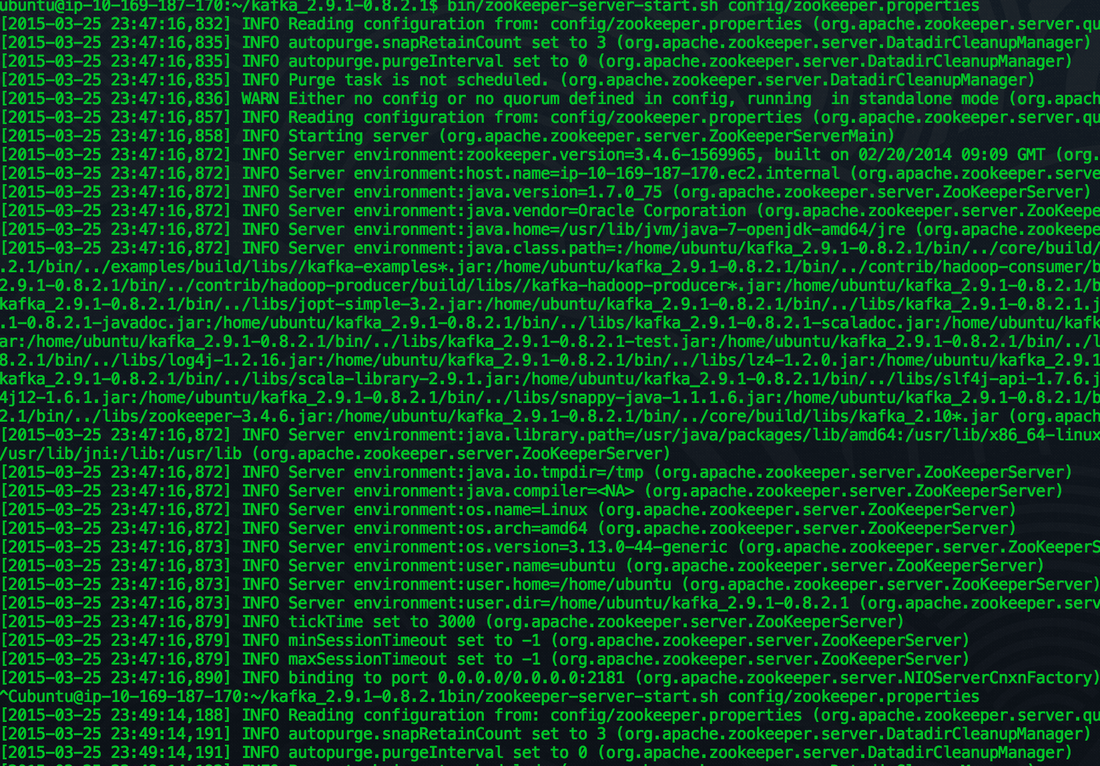
You should start seeing a bunch of stuff on your screen, look for any warnings or errors.
Step 4 - Install some Java love
Step 5 - Fire up Zookeeper
wget http://psg.mtu.edu/pub/apache/kafka/0.8.2.1/kafka_2.9.1-0.8.2.1.tgz
Step 3 - Download the latest package & unzip etc.
Remember to download the latest Kafka, you can check for versions here. We are going to be lazy and setup a single instance Zookeeper cluster. (remember to download the bin and not the src). cd kafka_2.9.1-0.8.2.1/ sudo apt-get install default-jre ssh -i ~/.ssh/your_ssh_key ubuntu@ec2-##-##-##-##.compute-1.amazonaws.com 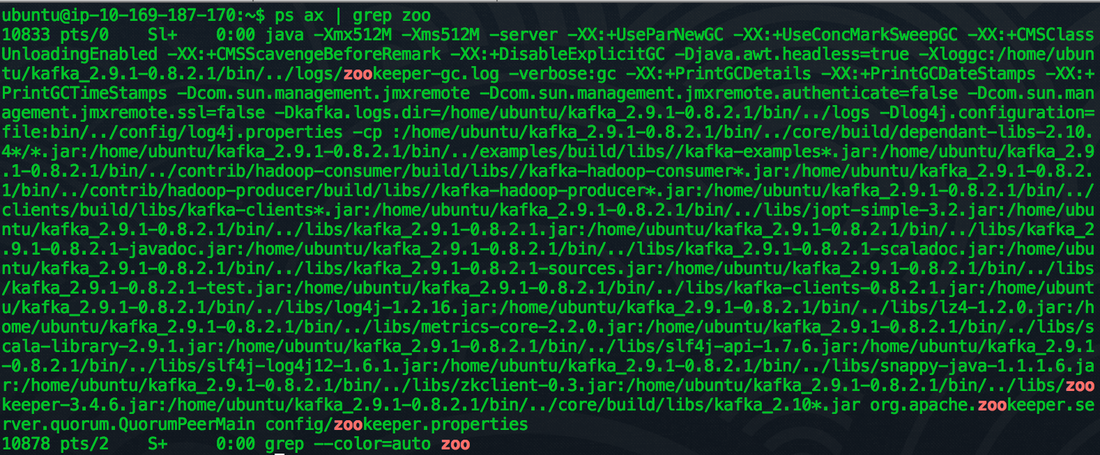
Step 6 - Fire up a couple of data nodes in EC2
Open up another terminal window and check that the zookeeper process is running: "ps aux | grep zoo"

Step 7 - Do the same on these nodes!
SSH into the data nodes and complete steps #3 and #4 again.
Step 8 - Change the configs for the data nodes
We need to update the data node configs to be able to talk with the Zookeeper node. In the terminal go to (use Vim or what ever text editor you like to fight over which is better).
Alter the following lines in both the data nodes:
nano config/server.properties broker.id=0
The broker.id is a unique integer, so if both of our data nodes are set to 0 we are going to have a bad time, change one of them to 1.
With zookeeper.connect you should change this from localhost to the ip address of the zookeeper node
Step 9 - Start up the data node servers!
bin/kafka-server-start.sh config/server.properties 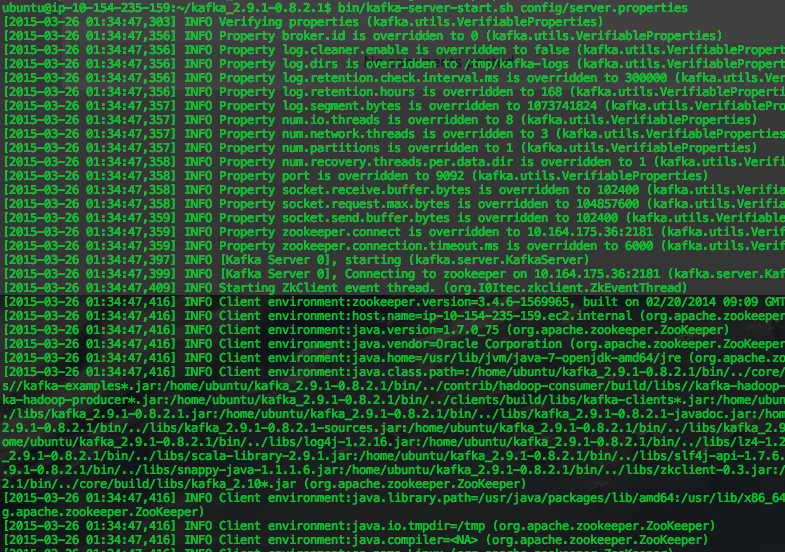
Same as the zookeeper node, you should start seeing messages spilling out to screen, ensure there aren't any warnings or errors in these logs.
Step 10 - Time to test this sucker!
Open up a new terminal window for each of your data nodes. We want to create your first topic, in the code below where it states "zooKeeperHostIP" replace that with the IP address of your zookeeper node. Run this command on either of your new terminal windows. bin/kafka-topics.sh --zookeeper zooKeeperHostIP:2181 --create --topic test --partitions 1 --replication-factor 1
Check to see if the topic has been created
bin/kafka-topics.sh --zookeeper zooKeeperHostIP:2181 --list
On one of the terminal windows, start up the consumer
bin/kafka-console-consumer.sh --zookeeper zooKeeperHostIP:2181 --topic test --from-beginning
On the other terminal window, add a producer:
bin/kafka-console-producer.sh --broker-list brokerOneIP:9092,broker2IP:9092 --topic test
Now.. on the terminal that you created the producer in, type "hello how are you!" Then watch the message appear on the consumer terminal window.
Producer: 
Consumer:

You might see a warning on the producer, "WARN Property topic is not valid" don't worry about that it seems like it's a bug.
Well done! We built our first multi-node Kafka cluster in Amazon EC2! I plan to expand on this in the coming weeks on monitoring and performance testing different instance types in Amazon. |

AuthorNew Zealand big data nerd, facial hair sculptor and classic car fanatic. Owner of needles.io, freelance big data consultant, ex Activision. Archives
April 2016
Categories
|
 RSS Feed
